
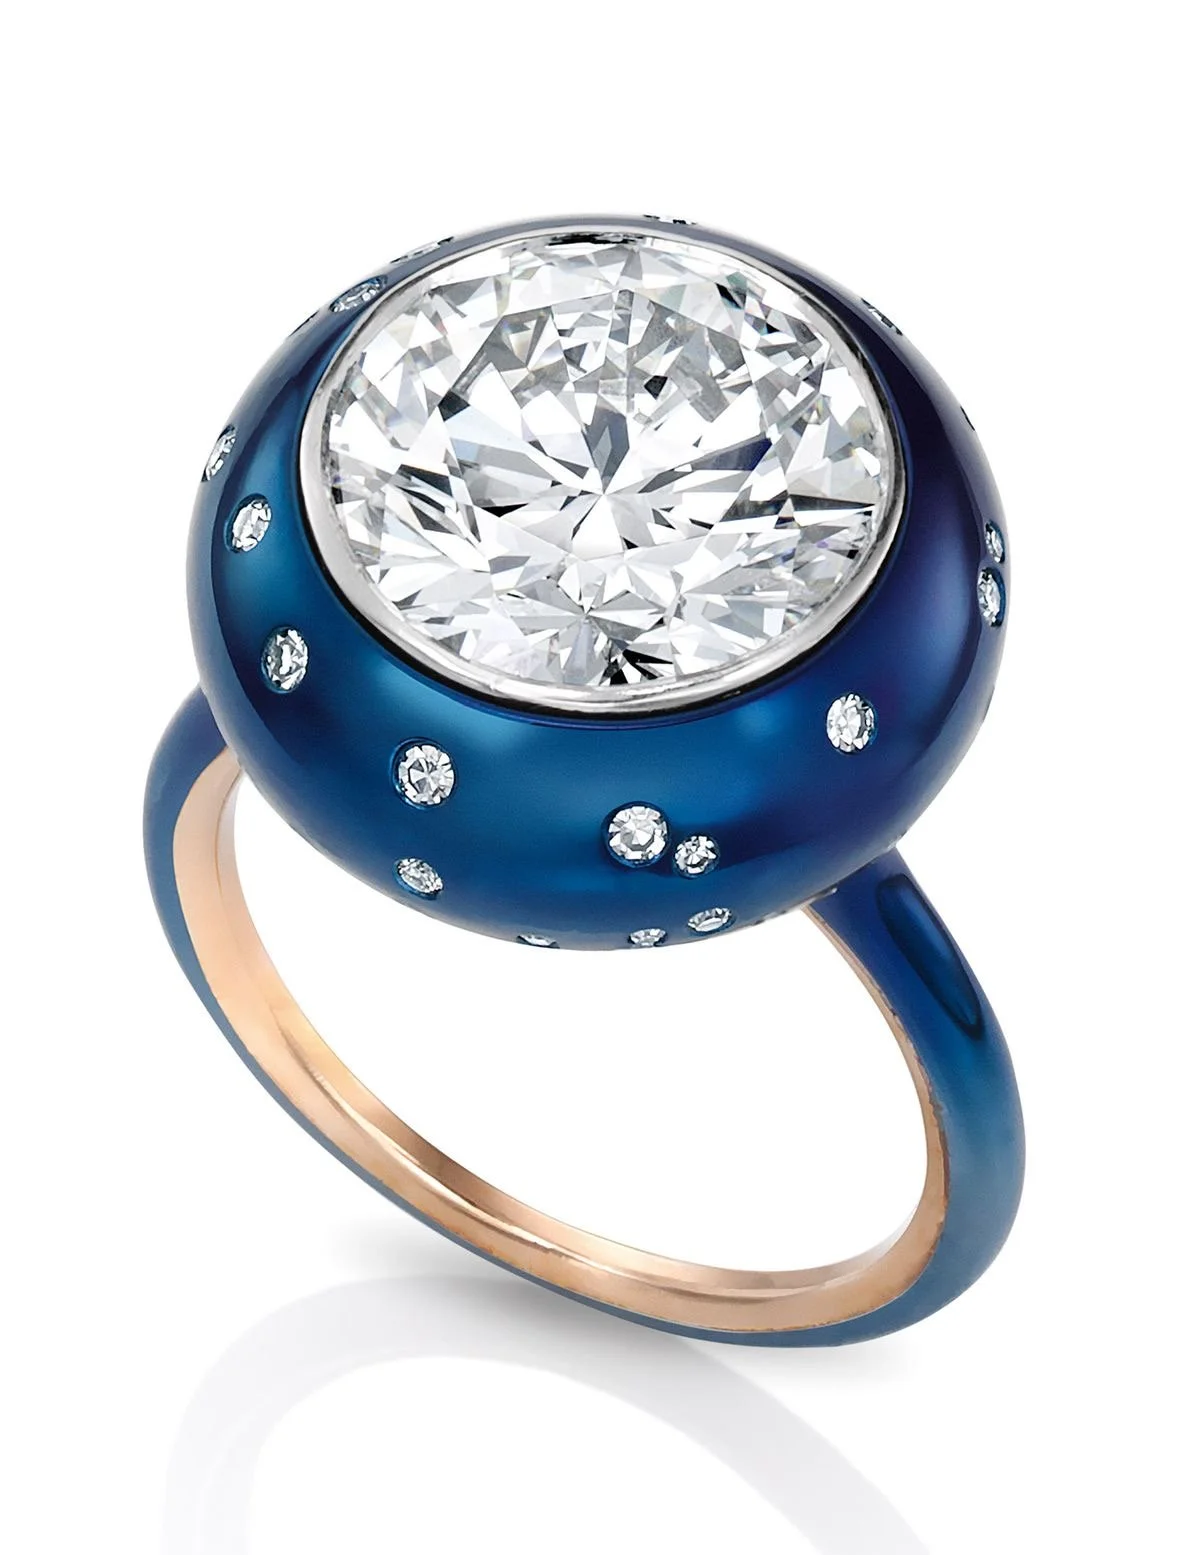
 Image 1 of 3
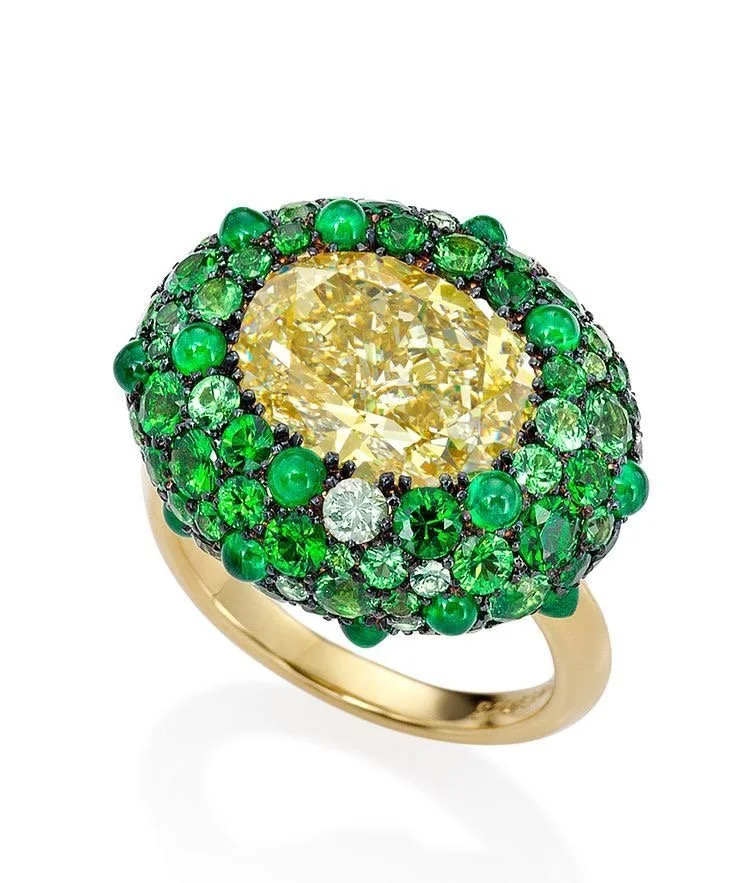 Image 2 of 3
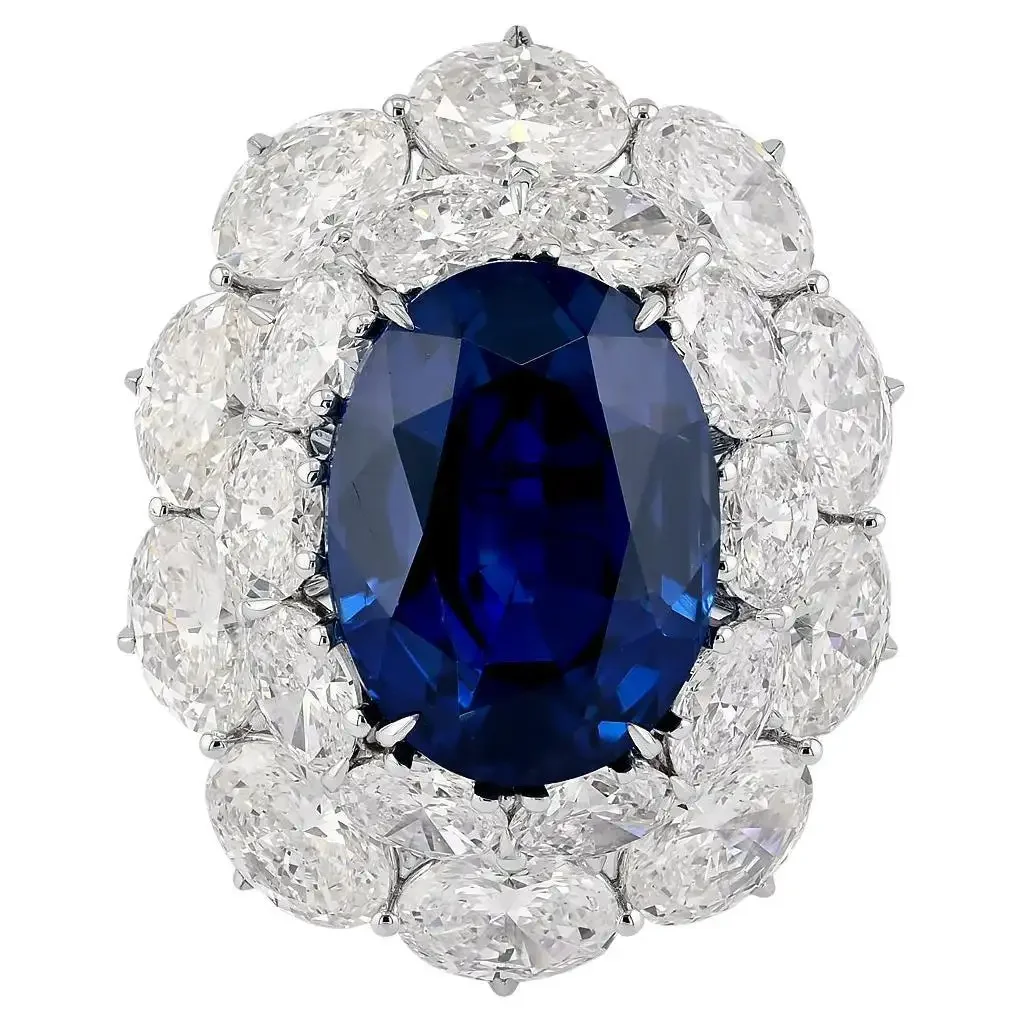 Image 3 of 3
CAD Rings - II Level Complexity
CAD Ring Complexity — 2-Level Explanation
Definition of 2-Level CAD Complexity
Level 1 (Base geometry): The primary structural ring body — the shank, interior profile, and main setting that supports stones or a top element. This level establishes fit, strength, and basic aesthetics.
Level 2 (Secondary detailing): A secondary set of features that interact with or overlay the base geometry — carved patterns, milgrain, secondary stone settings, openwork (filigree), or a raised bezel/halo that sits above the base. These elements are distinct in elevation or function from the base and require separate modeling attention.
What differentiates 2-level from simpler designs
Depth/Elevation: Secondary features are raised or recessed relative to the base rather than being simple surface textures.
Interference considerations: Two levels introduce more risk of geometric interference between elements (clearances, overlaps).
Multiple modeling operations: You typically model the base first, then add the secondary layer via Boolean operations, sweeps, offsets, or surface sculpting.
CAD modeling implications
Workflow: Start with accurate inner diameter and shank cross-section (Level 1). Lock that geometry before adding Level 2 to preserve fit and structural integrity.
Boolean management: Use controlled Boolean unions/subtractions for combining levels. Keep history or use named bodies so you can edit levels without unintended changes to the other.
Tolerances and clearances: Account for manufacturing tolerances (casting shrinkage, stone settings). Level 2 features near stones or prongs must allow space for setting tools and metal flow.
Mesh density: Secondary features increase mesh complexity. Use higher resolution only where needed (micro-detail regions) and keep simpler meshes on broader shank areas to optimize file size and simulation times.
Parametric vs. direct modeling: Parametric CAD makes it easier to adjust Level 1 dimensions (size, shank profile) while preserving Level 2 relationships when designed with proper constraints. Direct modeling is faster for sculptural changes but harder to maintain parametric links.
Manufacturing and finishing implications
Casting and wax: Two-level rings may require more complex spruing or multi-part molds if deep undercuts are present. Wax or 3D print orientation must avoid unsupported overhangs in the secondary level.
Stone setting: Raised or recessed secondary levels can change stone access. Plan settings (flush, bezel, prong) so setters can reach stones without damaging adjacent features.
Polishing and finishing: Secondary detailing can create small crevices that are difficult to polish. Consider micro-polishing, ultrasonic cleaning, or selective plating to achieve uniform finish.
Strength and wear: Level 2 elements projecting above the shank are more exposed to wear and impact. Thicken connecting areas or add hidden shoulders to reinforce delicate features.
Design and aesthetic considerations
Proportion: Maintain balanced height between levels; too tall a secondary layer looks top-heavy and catches on clothing.
Visual separation: Use differing finishes (high polish vs. matte) or contrasting metal colors to emphasize the two levels.
Ergonomics: Ensure the inner profile and the overall ring height remain comfortable for daily wear despite added secondary features.
Cost and time impacts
CAD time: Modeling secondary details increases design time—more iterations, more checkpoints for clearance and casting simulation.
Production cost: More complex molds, longer finishing and setting time, and potential need for reinforcement increase manufacturing cost.
Lead time: Expect additional time for prototype printing, test fitting stones, and possible redesigns to resolve fitting or finishing issues.
Checklist for a robust 2-level CAD ring
Confirm inner diameter and shank thickness meet strength and fit requirements.
Lock base geometry before adding secondary features; use separate bodies or components.
Check clearances around stones and prongs; simulate stone seats and setting tools if possible.
Run interference and undercut analysis; plan sprue orientation and support.
Optimize mesh: high detail only where necessary.
Consider finishing constraints: polishing access and wear exposure.
Reinforce delicate transition areas between levels.
Create documented revision history so adjustments to Level 1 or Level 2 are traceable.
Summary A 2-level CAD ring increases visual interest and complexity by adding a secondary layer of features above or integrated into a primary ring body. This approach requires disciplined CAD practices: maintaining parametric control, managing booleans and meshes, accounting for manufacturing
II Level: Jewelry CAD Ring Design
CAD Ring Complexity — 2-Level Explanation
Definition of 2-Level CAD Complexity
Level 1 (Base geometry): The primary structural ring body — the shank, interior profile, and main setting that supports stones or a top element. This level establishes fit, strength, and basic aesthetics.
Level 2 (Secondary detailing): A secondary set of features that interact with or overlay the base geometry — carved patterns, milgrain, secondary stone settings, openwork (filigree), or a raised bezel/halo that sits above the base. These elements are distinct in elevation or function from the base and require separate modeling attention.
What differentiates 2-level from simpler designs
Depth/Elevation: Secondary features are raised or recessed relative to the base rather than being simple surface textures.
Interference considerations: Two levels introduce more risk of geometric interference between elements (clearances, overlaps).
Multiple modeling operations: You typically model the base first, then add the secondary layer via Boolean operations, sweeps, offsets, or surface sculpting.
CAD modeling implications
Workflow: Start with accurate inner diameter and shank cross-section (Level 1). Lock that geometry before adding Level 2 to preserve fit and structural integrity.
Boolean management: Use controlled Boolean unions/subtractions for combining levels. Keep history or use named bodies so you can edit levels without unintended changes to the other.
Tolerances and clearances: Account for manufacturing tolerances (casting shrinkage, stone settings). Level 2 features near stones or prongs must allow space for setting tools and metal flow.
Mesh density: Secondary features increase mesh complexity. Use higher resolution only where needed (micro-detail regions) and keep simpler meshes on broader shank areas to optimize file size and simulation times.
Parametric vs. direct modeling: Parametric CAD makes it easier to adjust Level 1 dimensions (size, shank profile) while preserving Level 2 relationships when designed with proper constraints. Direct modeling is faster for sculptural changes but harder to maintain parametric links.
Manufacturing and finishing implications
Casting and wax: Two-level rings may require more complex spruing or multi-part molds if deep undercuts are present. Wax or 3D print orientation must avoid unsupported overhangs in the secondary level.
Stone setting: Raised or recessed secondary levels can change stone access. Plan settings (flush, bezel, prong) so setters can reach stones without damaging adjacent features.
Polishing and finishing: Secondary detailing can create small crevices that are difficult to polish. Consider micro-polishing, ultrasonic cleaning, or selective plating to achieve uniform finish.
Strength and wear: Level 2 elements projecting above the shank are more exposed to wear and impact. Thicken connecting areas or add hidden shoulders to reinforce delicate features.
Design and aesthetic considerations
Proportion: Maintain balanced height between levels; too tall a secondary layer looks top-heavy and catches on clothing.
Visual separation: Use differing finishes (high polish vs. matte) or contrasting metal colors to emphasize the two levels.
Ergonomics: Ensure the inner profile and the overall ring height remain comfortable for daily wear despite added secondary features.
Cost and time impacts
CAD time: Modeling secondary details increases design time—more iterations, more checkpoints for clearance and casting simulation.
Production cost: More complex molds, longer finishing and setting time, and potential need for reinforcement increase manufacturing cost.
Lead time: Expect additional time for prototype printing, test fitting stones, and possible redesigns to resolve fitting or finishing issues.
Checklist for a robust 2-level CAD ring
Confirm inner diameter and shank thickness meet strength and fit requirements.
Lock base geometry before adding secondary features; use separate bodies or components.
Check clearances around stones and prongs; simulate stone seats and setting tools if possible.
Run interference and undercut analysis; plan sprue orientation and support.
Optimize mesh: high detail only where necessary.
Consider finishing constraints: polishing access and wear exposure.
Reinforce delicate transition areas between levels.
Create documented revision history so adjustments to Level 1 or Level 2 are traceable.
Summary A 2-level CAD ring increases visual interest and complexity by adding a secondary layer of features above or integrated into a primary ring body. This approach requires disciplined CAD practices: maintaining parametric control, managing booleans and meshes, accounting for manufacturing
II Level: Jewelry CAD Ring Design